If you don't see the following email-sending features in the sheets, it may be related to your access rights. Please contact your SYSAdmin to check the access rights configuration.
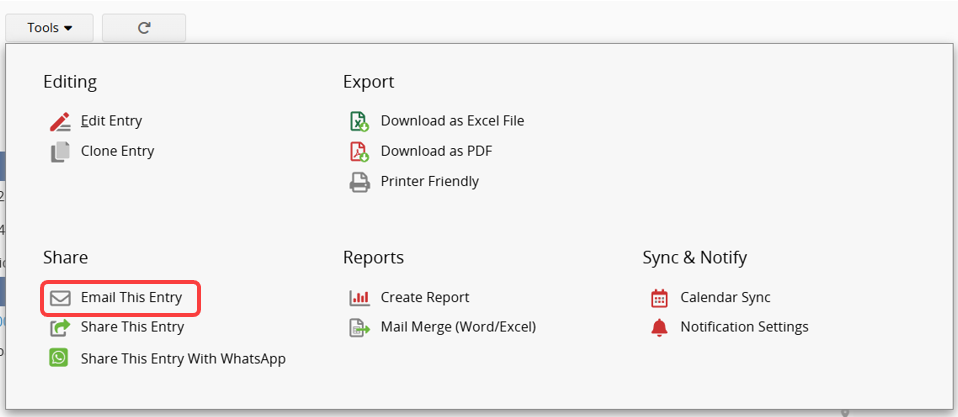
To send a specific entry, navigate to the Form Page, click on Tools at the top, and select Email This Entry.
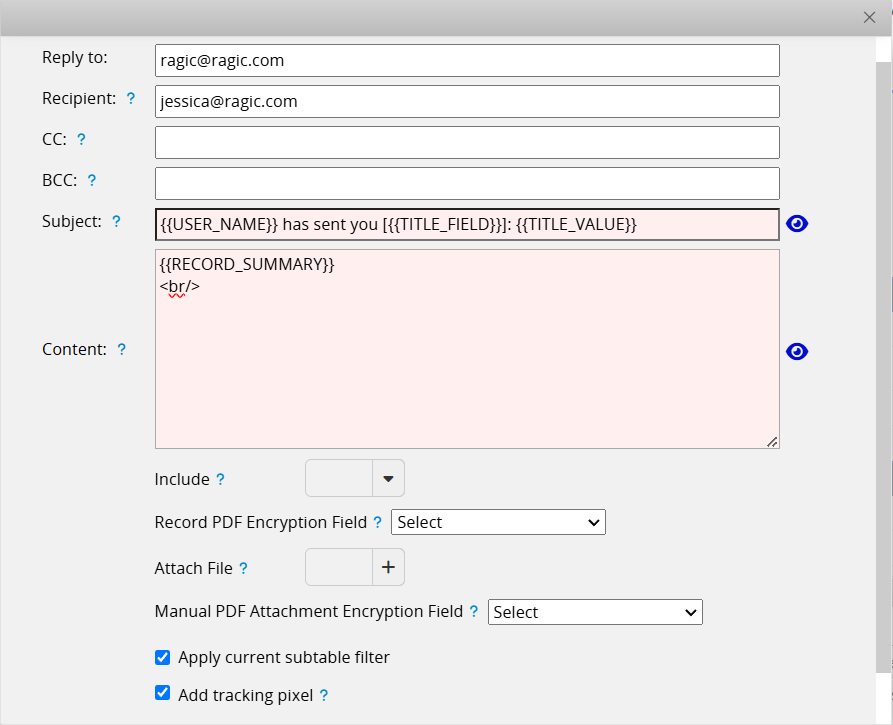
You can customize the email content. In the Custom Template Settings, you can enter text, select field values, or apply supported variables to design the template. For detailed settings, please refer to this article.
Note: Variables cannot be applied to a single subtable field. They can only display all field data in the Subtable. For more details, please refer here.
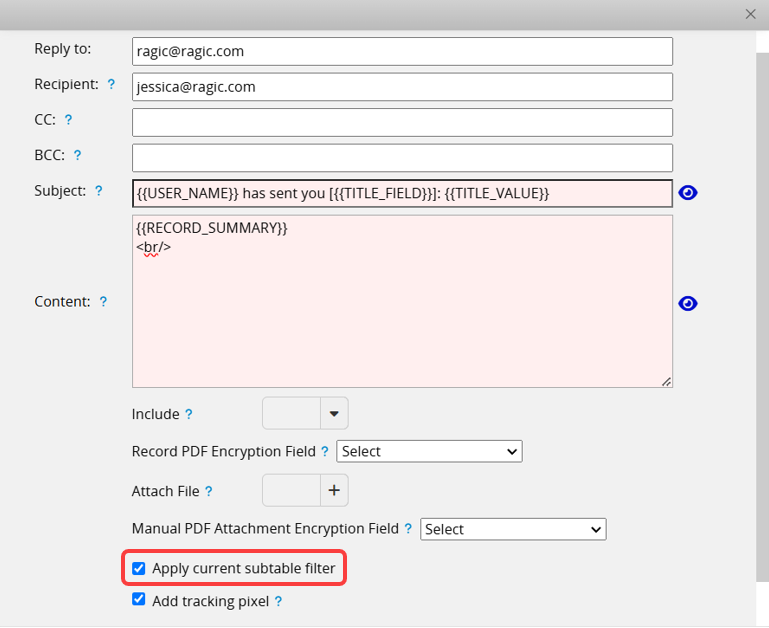
If the record's Subtable has a filter applied, you can check the Apply current subtable filter option. When selected, the email content, attached Excel files, PDF files, and Mail Merge documents will only include data that matches the filter in the Subtable.
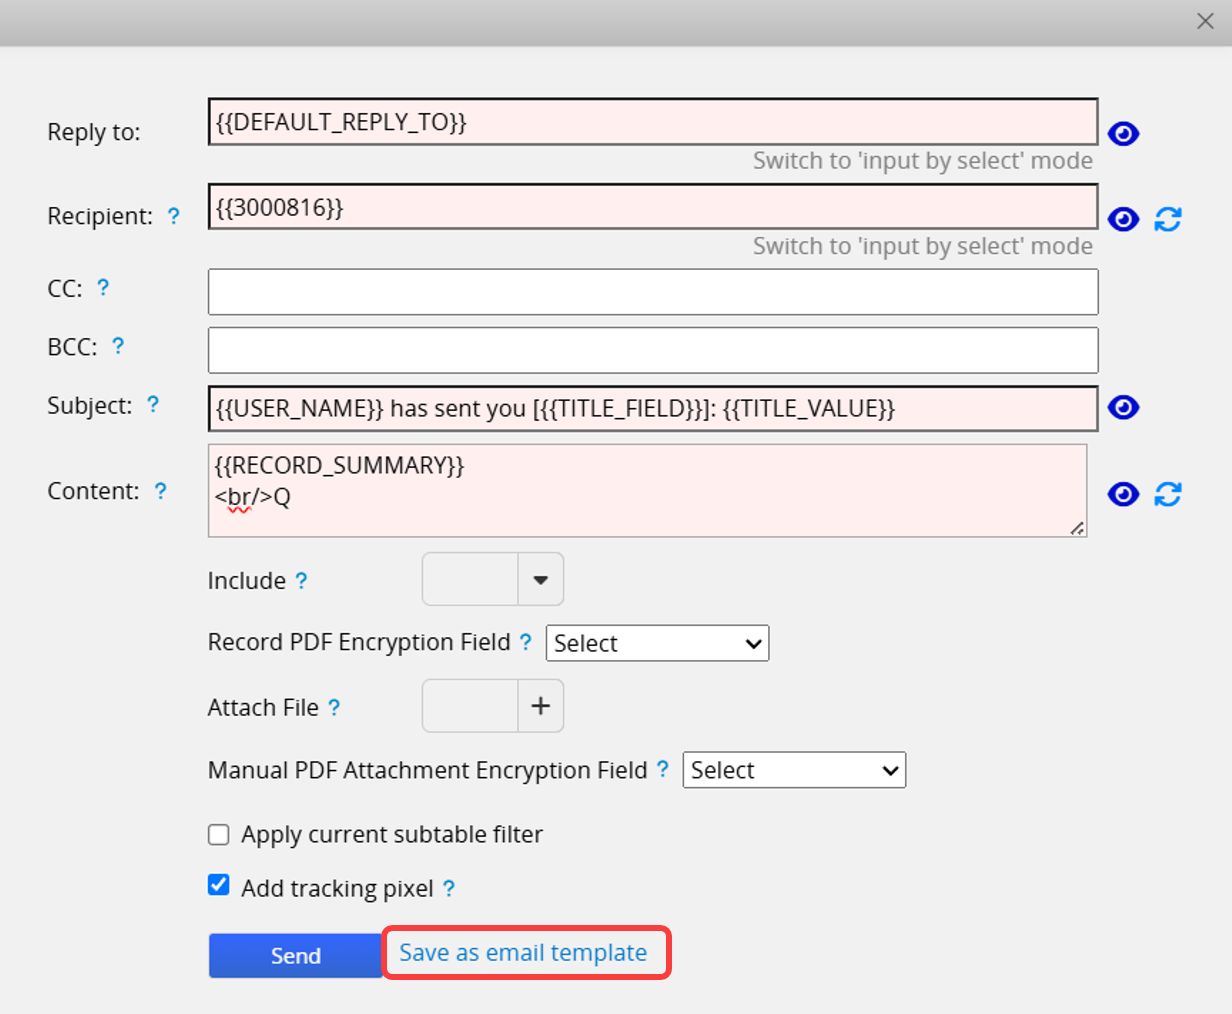
The SYSAdmin can choose Save as email template to store frequently used email settings.
Note: Only one template can be saved, and it is shared by all users.
Once the email is sent, you can see the Email icon in the bottom-right corner. Click it to view the Email History and reply directly below.
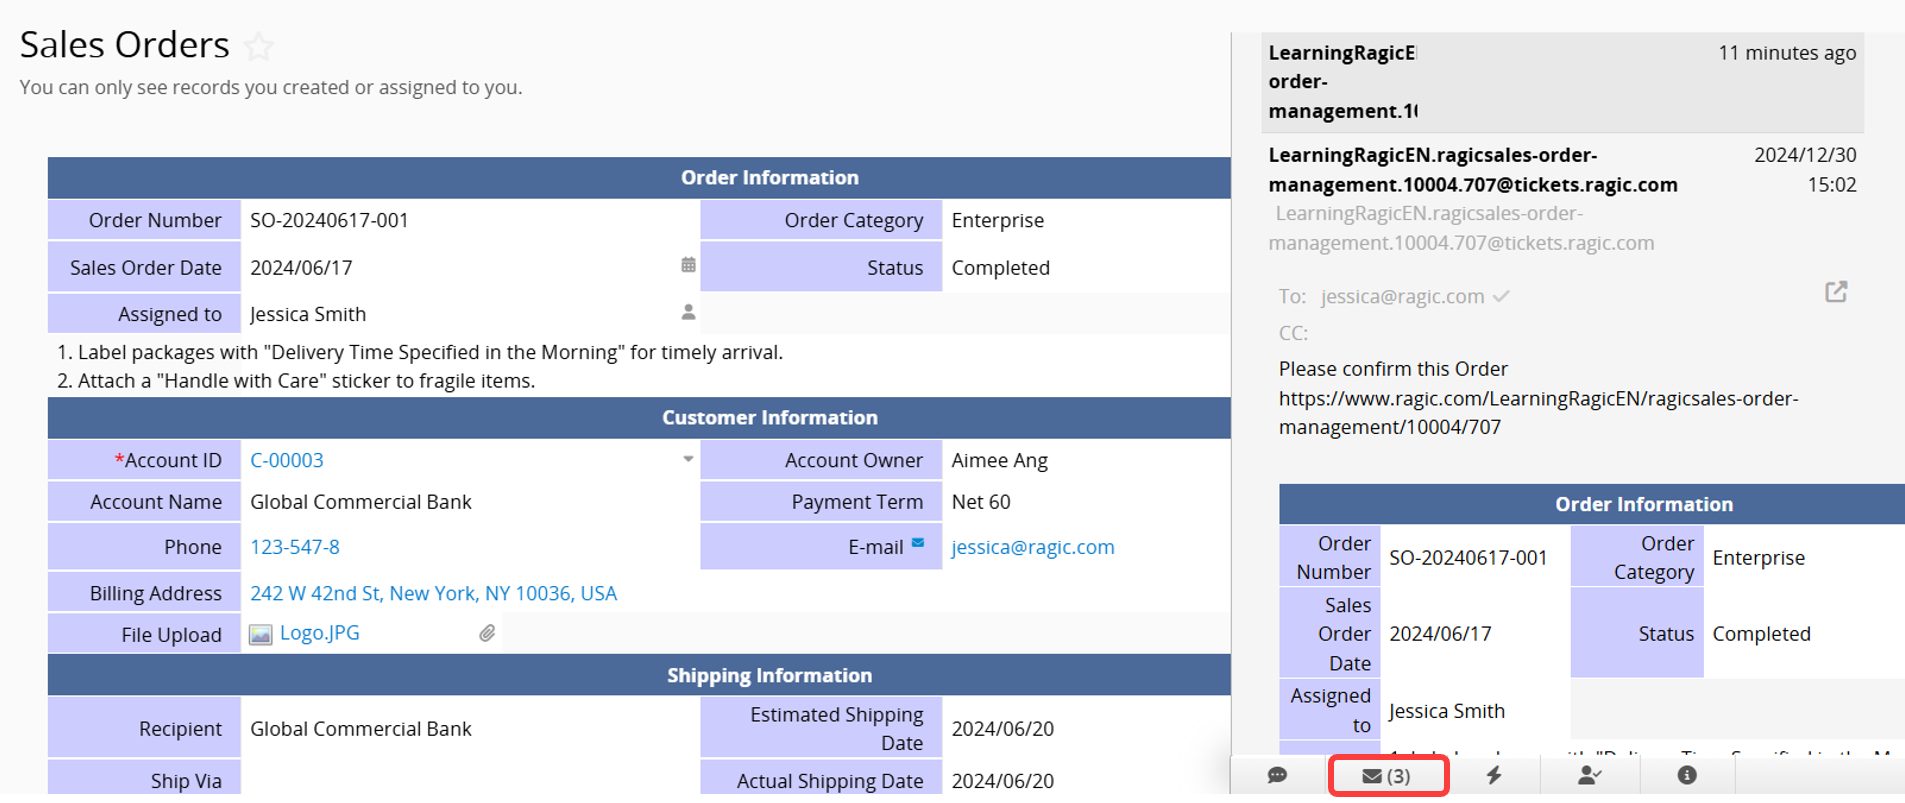
If you want to hide the Email History, refer to this article for further instructions.
 Thank you for your valuable feedback!